Introduction
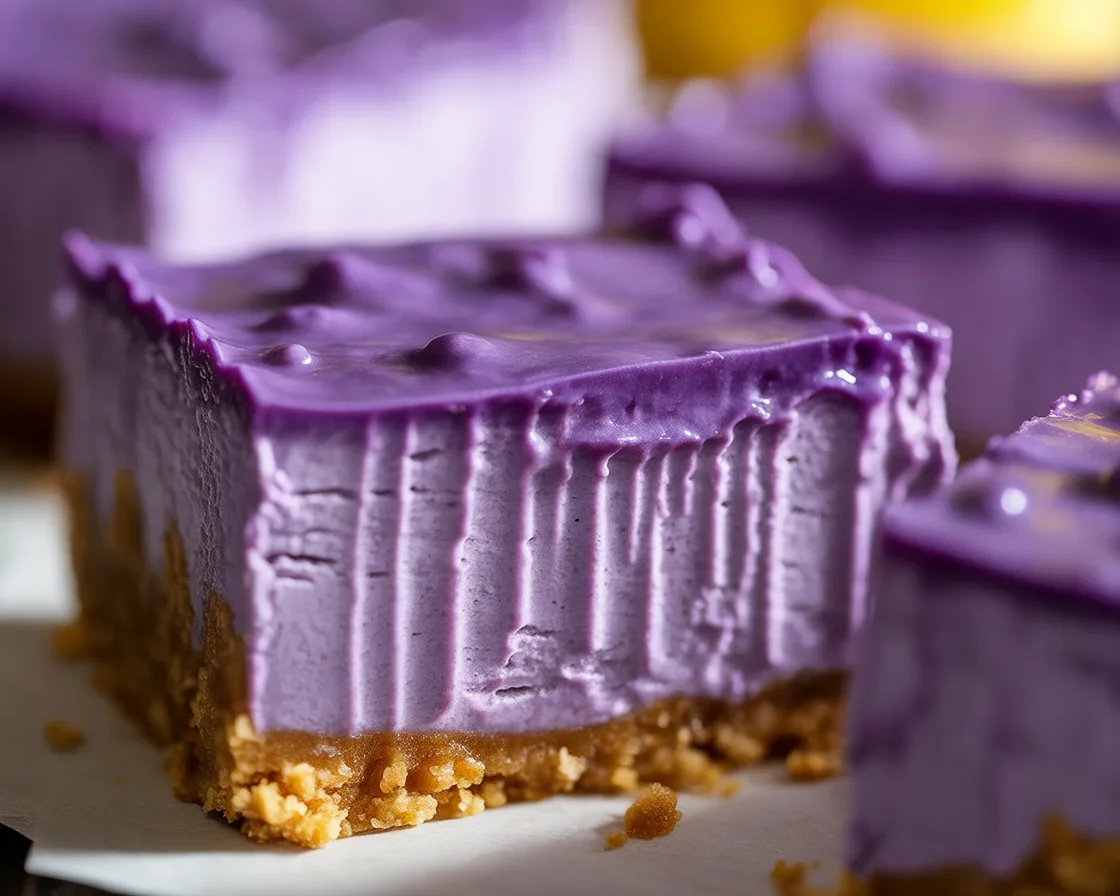
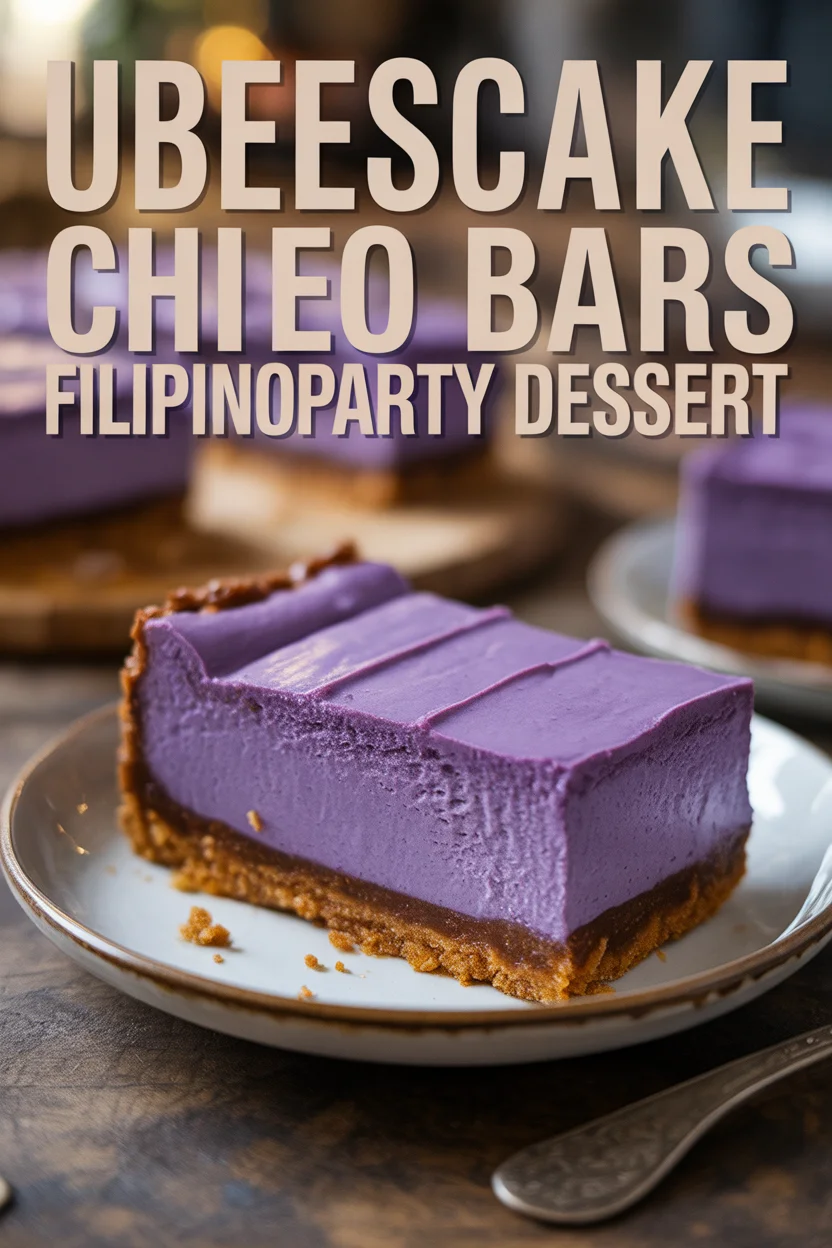
Ube Cheesecake Bars are my go-to answer when I need a crowd pleaser that looks fancy but is secretly easy. Maybe you’ve got a potluck at work, a birthday, or a last-minute family party. These bars bring the color, the creamy texture, and a nostalgic ube flavor that always makes people smile. No fancy gear needed, just a simple pan and a few pantry staples. I’ll walk you through all the little tricks that make them come out smooth, vibrant, and not too sweet. Let’s make your dessert table the one everyone hovers around.
Ingredients
What you’ll need
Here’s the full list so you can double check your pantry before you start. I like to set everything on the counter and bring cold items to room temp. It makes mixing a breeze.
- For the crust:
- 2 cups crushed graham crackers or digestive biscuits
- 6 tablespoons unsalted butter, melted
- 2 tablespoons sugar
- Small pinch of salt
- For the ube cheesecake filling:
- 24 ounces cream cheese, softened
- 3/4 cup sugar
- 3 large eggs, room temperature
- 1/2 cup sour cream
- 1/2 cup heavy cream
- 1 teaspoon pure vanilla extract
- 1 cup ube halaya or ube jam
- 1 to 2 teaspoons ube extract for color and flavor
- Pinch of salt
- Optional topping:
- Light dusting of powdered sugar or dollops of whipped cream
- Toasted coconut flakes for crunch
Pan size and setup
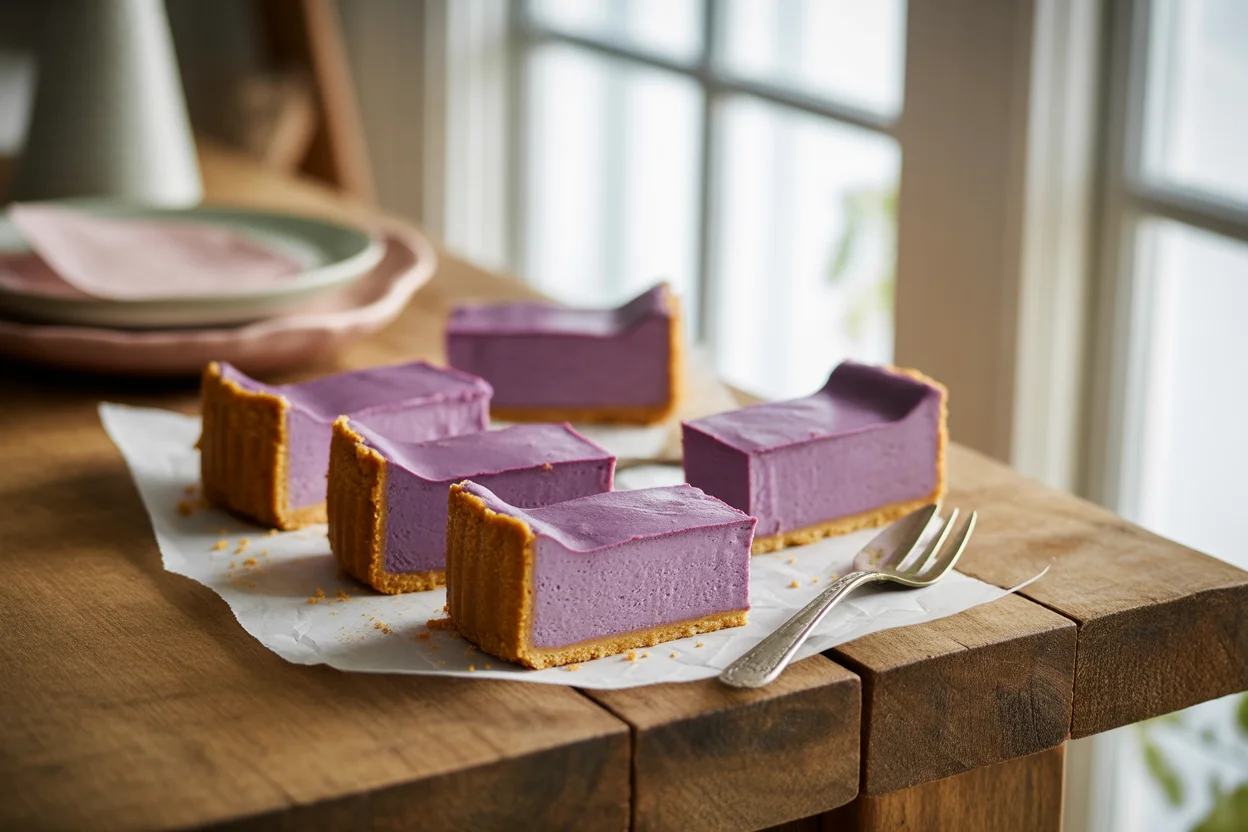
Use a 9 by 13 inch metal baking pan for easy cutting and firm edges. Line it with parchment so the paper overhangs on two sides. That overhang works like a sling to lift the bars out cleanly.
If you like reading about playful purple treats for breakfast too, take a peek at these fun ideas later:
Fluffy Ube Pancakes or
Crispy Ube Waffles.
Mix crust and ube filling
Make the crust
In a bowl, combine the graham crumbs, sugar, and salt. Pour in the melted butter and mix until the texture feels like damp sand. It should hold together when pressed. Pour this into your lined pan and press it down firmly with the bottom of a measuring cup. Press a bit up the edges too so the crust supports the filling. Chill the crust in the fridge while you prep the filling.
Whip the ube cheesecake
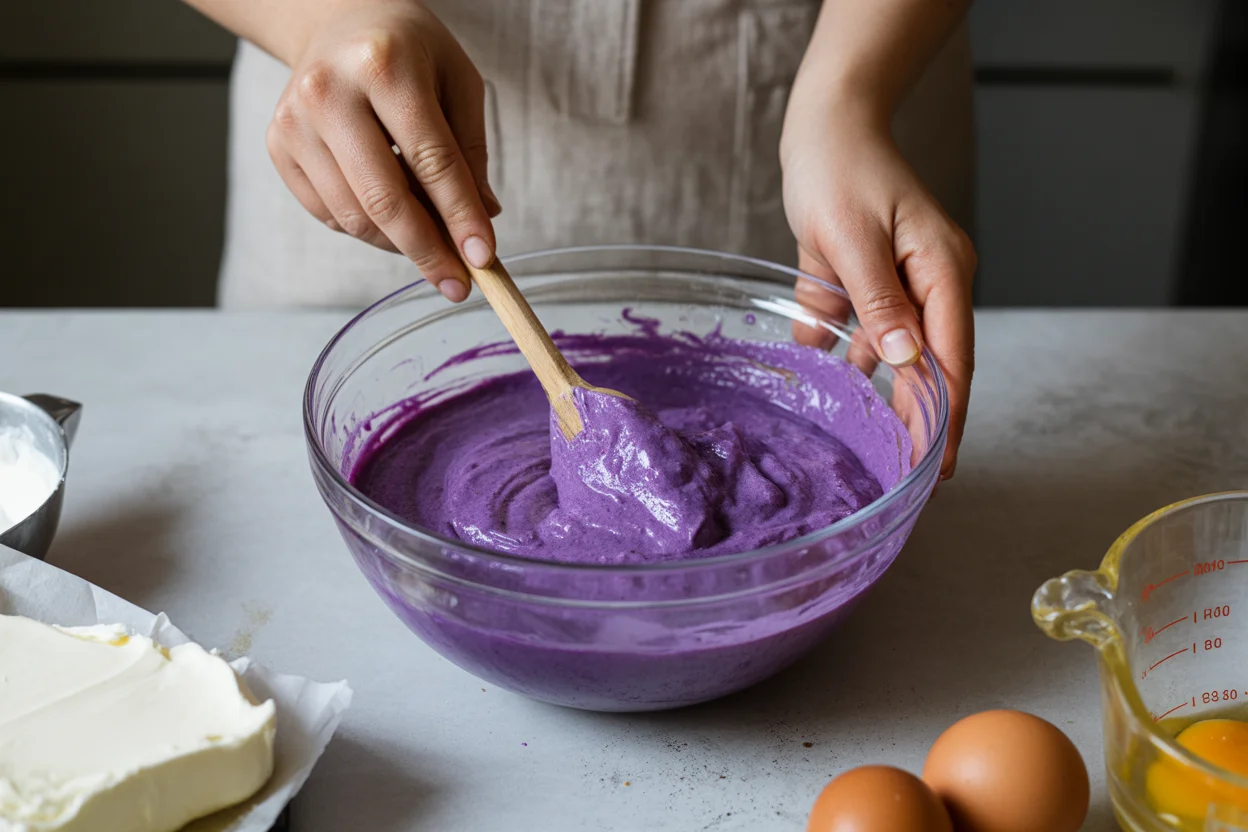
Grab a big mixing bowl. Beat the cream cheese with sugar until velvety. Scrape the bowl. Add eggs one at a time, mixing just until each one disappears. Stir in sour cream, heavy cream, vanilla, and salt. Scrape the bowl again.
Now the fun part. Whisk in the ube halaya until it’s smooth and evenly purple. Add ube extract a little at a time. You’re aiming for a bright, happy purple and a rounded ube flavor that’s sweet with a gentle nuttiness. Start with 1 teaspoon, then taste a tiny smear. If you want more oomph, add the second teaspoon. Avoid overmixing. Overmixing can invite cracks later.
I rely on ube halaya for flavor and color, especially when I want a shortcut that still tastes like home. If you want to make your own, this guide is super helpful:
ube halaya from frozen yam.
Pro tips:
1. Use room temp cream cheese. It whips smoother and prevents lumps.
2. Scrape the bowl often. Cream cheese loves to hide along the sides.
3. Do not overmix. Incorporate gently to keep air pockets low.
I brought these to a neighborhood potluck and someone asked which bakery made them. When I said they were homemade, three people asked for the recipe on the spot. Smooth, creamy, and not too sweet. Total win.
Bake
Preheat your oven to 325 F. Pour the ube filling over the chilled crust and smooth the top with an offset spatula or the back of a spoon. Tap the pan gently on the counter to pop any big air bubbles. Slide the pan into the center of the oven and bake for 35 to 40 minutes.
You’re looking for set edges and a middle that still jiggles slightly when you nudge the pan. It should wobble like soft jelly, not slosh like milk. If the center is still soupy, give it a few more minutes. My sweet spot is often 38 minutes, but ovens vary. Trust the jiggle more than the clock.
Doneness test
When the edges look dry and the center quivers softly, turn off the oven. Crack the door open slightly and let the bars sit inside for 10 minutes. This slow cool helps prevent cracks. Then move the pan to a cooling rack and cool completely at room temp. Do not rush this step.
If you love creamy hybrids, you might enjoy this too:
Crockpot Leche Flan Cheesecake.
Chill and cut into bars
When the pan is no longer warm, cover it and chill at least 4 hours. Overnight is even better. Chilling sets the structure so your slices come out clean. Once chilled, lift the whole slab out of the pan using the parchment sling and place it on a cutting board.
Use a long, sharp knife for neat edges. For super crisp cuts, dip the knife in hot water, wipe it dry, then slice. Clean the blade between cuts. I like cutting 24 small squares for parties, but you can go bigger if you want bakery-style slabs.
Serve plain or add a swirl of whipped cream and a sprinkle of toasted coconut flakes. The light crunch with the creamy purple is magic. If you’re serving kids, tiny 2-bite squares disappear quickly and make portioning easy. For a bright dessert table, mix these bars with fun purple treats like these:
ube ice cream sandwiches.
Storage: Keep leftovers covered in the fridge up to 5 days. For longer storage, freeze slices on a tray, then wrap individually. Thaw in the fridge and they taste just as lush. These are sturdy travelers too, perfect for potlucks and picnics.
Flavor boosts: Drizzle with condensed milk for a quick caramel vibe. Add crushed coconut cookies on top for crunch. Or finish with a pinch of flaky salt if you like a sweet-salty bite.
If you’re planning a dessert bar for a kid’s birthday, toss in colorful ideas like these kid-friendly purple treats:
Ube Cheesecake Bars for kids.
Common Questions
How do I avoid cracks on top?
Mix gently, avoid overbeating, and bake at a steady 325 F. Let the bars cool slowly with the oven door slightly open for 10 minutes, then cool fully at room temp before chilling.
Can I use a different pan size?
Yes. A 9 by 13 inch pan gives slim bars. For thicker bars, use a 9 by 9 inch pan and add 8 to 12 minutes to the bake time. Watch the jiggle test to avoid overbaking.
What if I can’t find ube halaya?
Use plain mashed cooked purple yam plus extra sugar to taste and a bit more ube extract. The halaya adds sweetness and smoothness, so adjust accordingly.
Can I make these ahead?
Absolutely. They’re better the next day. Bake, chill overnight, then slice before serving. You can also freeze the whole slab, then cut while slightly firm for tidy edges.
How sweet are these?
Balanced. The ube flavor stands out without overwhelming sugar. If you prefer sweeter, add 2 to 3 tablespoons more sugar to the filling or finish with condensed milk drizzle.
Ready to serve these purple party squares
If you’ve made it this far, you’re ready to bake a pan of Ube Cheesecake Bars that’ll disappear before you can blink. Remember the keys: line the pan, mix gently, watch the jiggle, and let them chill until set. Once you slice into that creamy purple center, you’ll get why these are my go-to for birthdays, potlucks, and any moment that needs a happy dessert.
Want another perspective and variation ideas? Check out this helpful guide for more tips and tweaks:
Ube Cheesecake Bars Recipe.
And if you’re building a full purple menu, you can add morning treats like
mini ube pancake bites
to keep the theme going from breakfast to dessert.
I’d love to hear how yours turn out. Snap a pic, share your topping ideas, and enjoy every creamy bite. Happy baking.
Ube Cheesecake Bars
Ingredients
For the crust
- 2 cups crushed graham crackers or digestive biscuits
- 6 tablespoons unsalted butter, melted
- 2 tablespoons sugar
- 1 pinch salt
For the ube cheesecake filling
- 24 ounces cream cheese, softened Use room temperature to prevent lumps.
- 3/4 cup sugar Adjust for sweetness if desired.
- 3 large eggs, room temperature
- 1/2 cup sour cream
- 1/2 cup heavy cream
- 1 teaspoon pure vanilla extract
- 1 cup ube halaya or ube jam Alternatively, use plain mashed cooked purple yam.
- 1 to 2 teaspoons ube extract For color and flavor.
- 1 pinch salt
Optional topping
- Light dusting of powdered sugar or dollops of whipped cream
- Toasted coconut flakes for crunch
Instructions
Preparation
- Prepare a 9 by 13 inch metal baking pan by lining it with parchment paper, leaving some overhang for easy removal.
- In a bowl, combine crushed graham crackers, sugar, and salt. Pour in melted butter and mix until it resembles damp sand.
- Press the crust mixture firmly into the lined pan, ensuring it goes up the edges slightly. Refrigerate while preparing the filling.
Make the ube cheesecake filling
- In a large mixing bowl, beat the softened cream cheese with sugar until smooth. Add eggs one at a time, mixing until fully incorporated.
- Stir in sour cream, heavy cream, vanilla, and salt. Mix until well combined.
- Whisk in ube halaya until smooth. Gradually add ube extract, tasting until desired flavor and color is reached. Avoid overmixing.
Bake
- Preheat the oven to 325°F (160°C). Pour the ube filling over the chilled crust and smooth the top.
- Bake for 35 to 40 minutes, until the edges are set and the center jiggles slightly.
Cool and chill
- When done, turn off the oven, crack the door open and let the bars cool in the oven for 10 minutes.
- Transfer to a cooling rack to cool completely. Once cool, cover and chill for at least 4 hours or overnight.
Serve
- Once chilled, lift the bars out of the pan using the parchment sling. Cut into squares using a sharp knife.
- Serve plain or with optional toppings like whipped cream and toasted coconut.
