Introduction
Ube Cake Pops are my secret weapon when a party sneaks up and I need a dessert that people will talk about. They’re bite-sized, super colorful, and honestly make everyone smile. If you’ve got leftover ube cake or a quick boxed mix, you can pull this off without stress. The texture is soft and fudgy inside with a sweet shell that cracks just right. I’ll show you how I make them at home, plus a few mistakes I’ve learned to avoid so yours don’t crumble or slide off the stick. Ready to make a tray of purple happiness?
Ingredients
Here’s everything I use to make about 24 to 30 cake pops. If you’re making a smaller or bigger batch, just keep the ratios similar. Feel free to swap in what you have, I’ll note some backups that still work well.
- Ube cake, baked and cooled, about 9-inch cake or 12 cupcakes. Store-bought works too.
- Ube halaya (ube jam) or vanilla frosting, 1/3 to 1/2 cup, just enough to bind crumbs. If using plain frosting, add 1/2 to 1 teaspoon ube extract.
- Cream cheese, optional, 2 tablespoons for a tangy flavor. Soften it first.
- Powdered sugar, 1 to 2 tablespoons, only if your mixture feels too wet.
- White chocolate chips or candy melts, 12 to 16 ounces, for the coating.
- Neutral oil or coconut oil, 1 to 2 teaspoons, to thin melted coating.
- Sprinkles, crushed freeze-dried berries, or toasted coconut, for decoration.
- Lollipop sticks.
- Shortening or a bit more oil, backup if coating is still too thick.
- Styrofoam block or a colander turned upside down, for drying the pops upright.
If you’re as obsessed with purple treats as I am, you’ll also love these for brunch days: Fluffy Ube Pancakes. They’re soft, cozy, and make the whole kitchen smell like dessert for breakfast.
Pro tip: Candy melts are easier for beginners than white chocolate because they set fast and don’t seize as easily.
Mix ube cake crumbs and frosting
How to get the perfect texture
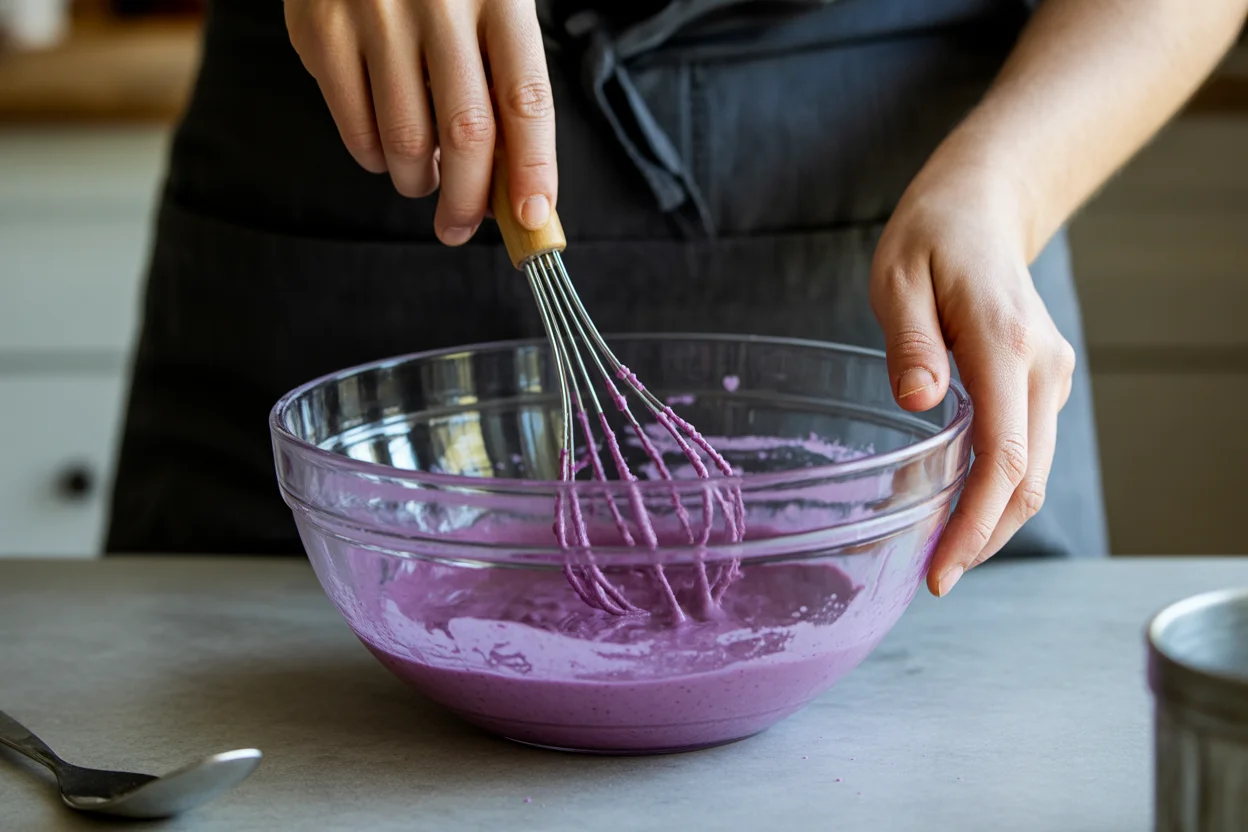
Crumble the ube cake into a large bowl. Rub the cake between your fingers until you get fine, even crumbs with no big chunks. Add a spoonful of ube halaya or frosting at a time and mix with a spatula or your hands. You want a mixture that feels moist and holds together when pressed, but not sticky or wet. If it’s too wet, sprinkle in a bit of powdered sugar or more cake crumbs. If it’s too dry, add a teaspoon of frosting and try again.
Think of it like play dough that doesn’t stick to your palms. That’s your sweet spot for shaping. If you go heavy on the frosting, your pops might slide off the sticks later. With the right balance, your Ube Cake Pops will roll smooth and hold their shape.
By the way, if you want another easy purple treat for parties, these ube cheesecake bars are creamy and kid-approved. They vanish fast from the dessert table.
Flavor boost: A few drops of ube extract goes a long way for that deep purple and classic ube aroma.
Form balls
Chilling time matters
Use a small cookie scoop to keep sizes even, then roll the mixture into smooth balls with your hands. Aim for 1 to 1.25 inches. Place them on a parchment-lined tray. If any look cracked, press gently and roll again. You don’t want visible lines because those can show through the coating.
Now chill the tray for 15 to 20 minutes in the fridge or 5 to 10 minutes in the freezer. Chilling helps the balls firm up so they don’t break apart when you insert the sticks.
Melt a little coating and dip the tip of each lollipop stick about 1/2 inch in. Insert the coated end into the center of each ball. That little “glue” helps lock it in. Set them back in the fridge for 10 minutes so the seal sets. If your kitchen runs warm, give it a bit longer. Trust me, this extra step is the difference between pops that hold and pops that wobble.
“I made these for my niece’s birthday, and they were the first thing gone. The sticks stayed put, the coating was shiny, and I got asked for the recipe three times.”
Texture check: If a ball cracks when you insert the stick, warm it in your hands for a second and re-roll. If it still cracks, it might be too dry. Knead in a tiny dab of frosting.
Dip in coating
Dipping tips that actually work
Place your coating in a microwave-safe bowl or use a double boiler. Heat gently until smooth. If it feels thick, stir in 1 teaspoon of oil. You’re aiming for a pourable but not runny consistency. Thick coating causes heavy drips and lumpy finishes. Too thin and it turns see-through and streaky.
Take 2 to 3 balls out of the fridge at a time so they stay firm while waiting to be dipped. Hold a stick and dip straight down, then lift straight up, avoiding any stirring motions that can pull the ball off. Gently tap the wrist of the hand holding the stick to shake off extra coating. Rotate as you tap to get an even surface. Let the excess drip off for a couple of seconds.
If you see tiny air bubbles, lightly tap the stick on the bowl again to release them. If any cracks form later, dip a second time or drizzle more coating over that spot. When the surface looks smooth, stand the pop upright in your Styrofoam block to set. Work in small batches so your coating stays warm and your pops don’t soften too much at room temperature.
Shine hack: Add a tiny pinch of shortening to your melts for a smoother, glossy coat. It makes the finish look extra professional without extra effort.
Decorate
Easy finishing touches
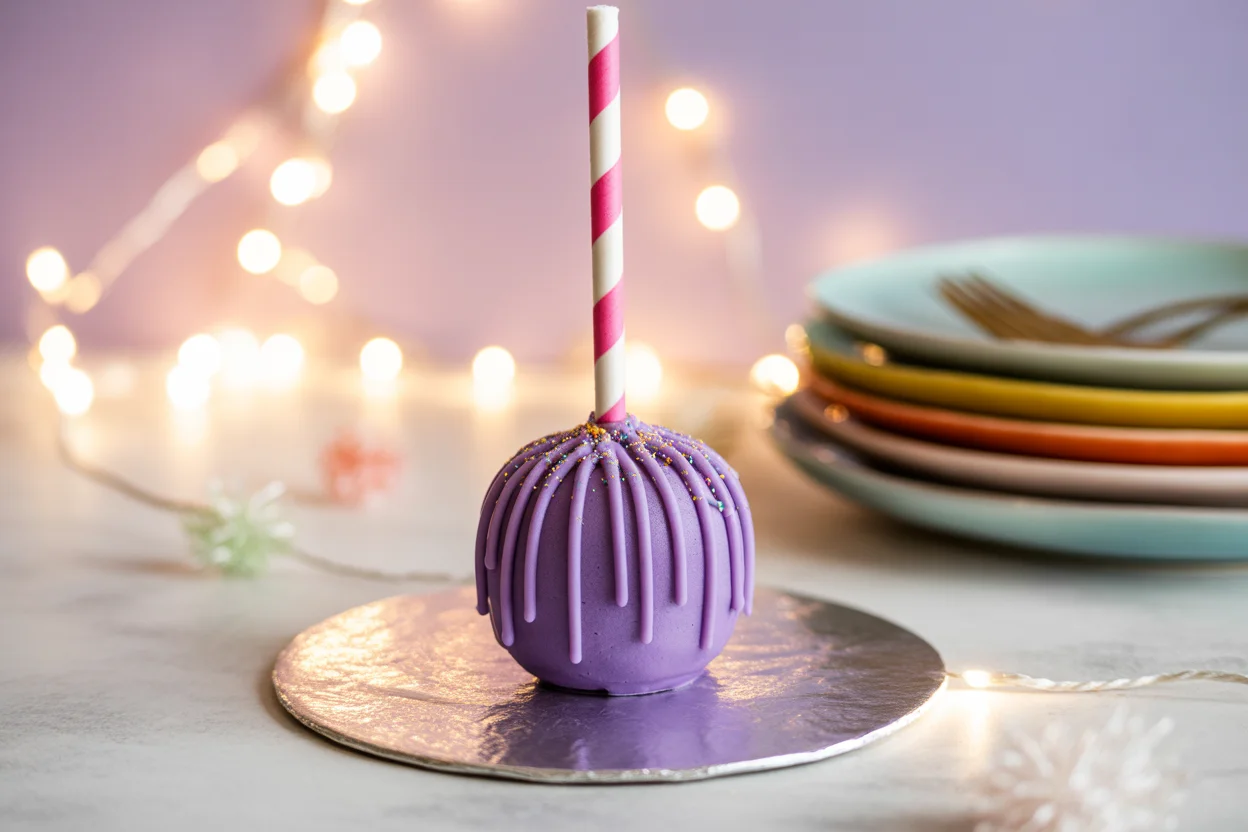
Decorating is the fun part. Sprinkle while the coating is still tacky so everything sticks. If you want neat drizzles, let the base coat set fully, then microwave a little more coating and use a spoon or piping bag to make zigzags in a contrasting color. You can also roll the tops in toasted coconut or dust with edible glitter for shine. Simple decorations always look clean and party-ready.
- Classic: white drizzle plus rainbow sprinkles.
- Tropical: toasted coconut flakes and a tiny pinch of lime zest.
- Berry vibe: crushed freeze-dried strawberries for color and tang.
- Party sparkle: edible gold stars or pearls.
If you’re making a full purple dessert spread, pair these with Crispy Ube Waffles and watch the table disappear in minutes. They’re a perfect crunchy contrast to the soft, fudgy centers of your pops.
Timing tip: Add sprinkles within 30 seconds of dipping. If the coating sets, decorations won’t stick well.
Common Questions
How do I stop the cake pops from falling off the stick?
Dip the stick in a little melted coating before inserting, and chill the pops again to set the seal. Don’t make the balls too big or too wet.
Why is my coating thick and lumpy?
Overheating can thicken chocolate. Reheat gently and stir in 1 teaspoon of oil. Candy melts are more forgiving than real chocolate.
How long can I store them?
Keep Ube Cake Pops in an airtight container in the fridge for up to 5 days. Bring to room temp before serving for the best texture.
Can I freeze them?
Yes. Freeze dipped pops in a single layer, then transfer to a bag. Thaw in the fridge uncovered to avoid condensation.
What if I don’t have ube halaya?
Use vanilla frosting with a little ube extract. You still get that purple color and ube flavor without the jam.
Ready to party with purple
If you crave something cute, shareable, and easy to make ahead, these Ube Cake Pops are your new go-to. They deliver that soft, fudgy bite with a crisp shell every time, and the color alone makes people smile. If you want to dive deeper into the base cake that inspires these pops, check out this lovely recipe for Ube Cake (Filipino Purple Yam Cake) and learn how the traditional cake comes together. However you decorate, keep it simple and have fun. You’ve got this, and your dessert table is about to look amazing.
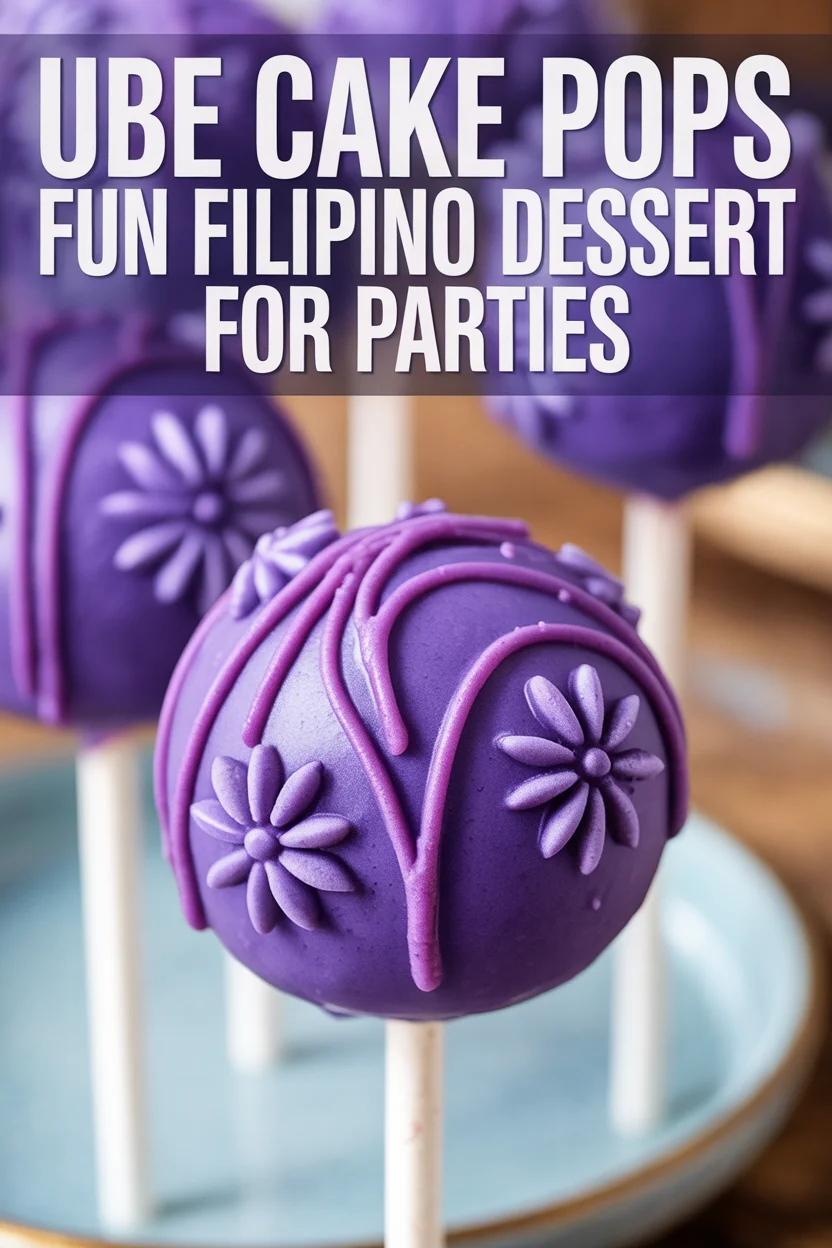
Ube Cake Pops
Ingredients
Main Ingredients
- 1 9-inch cake or 12 cupcakes Ube cake, baked and cooled Store-bought works too.
- 1/3 to 1/2 cup Ube halaya (ube jam) or vanilla frosting If using plain frosting, add 1/2 to 1 teaspoon ube extract.
- 2 tablespoons Cream cheese, optional Soften it first for a tangy flavor.
- 1 to 2 tablespoons Powdered sugar Only if your mixture feels too wet.
- 12 to 16 ounces White chocolate chips or candy melts For the coating.
- 1 to 2 teaspoons Neutral oil or coconut oil To thin melted coating.
- Sprinkles, crushed freeze-dried berries, or toasted coconut For decoration.
- Lollipop sticks Essential for cake pops.
- Shortening or a bit more oil Backup if coating is still too thick.
- Styrofoam block or a colander turned upside down For drying the pops upright.
Instructions
Mix Ube Cake Crumbs and Frosting
- Crumble the ube cake into a large bowl. Rub the cake between your fingers until you get fine, even crumbs with no big chunks.
- Add a spoonful of ube halaya or frosting at a time and mix with a spatula or your hands until you achieve a moist mixture that holds together when pressed but is not sticky.
- If it’s too wet, sprinkle in a bit of powdered sugar or more cake crumbs; if too dry, add a teaspoon of frosting and mix again.
- Aim for a smooth consistency that can be shaped like play dough, ensuring not to add too much frosting.
Form Balls
- Use a small cookie scoop to keep sizes even, then roll the mixture into smooth balls with your hands, aiming for 1 to 1.25 inches.
- Place them on a parchment-lined tray. If any look cracked, press gently and roll again.
- Chill the tray for 15 to 20 minutes in the fridge or 5 to 10 minutes in the freezer to firm up.
- Melt a little coating and dip the tip of each lollipop stick about 1/2 inch in, then insert it into the center of each ball.
- Set them back in the fridge for 10 minutes to set the seal.
Dip in Coating
- Place your coating in a microwave-safe bowl or double boiler and heat gently until smooth.
- If it feels thick, stir in 1 teaspoon of oil to achieve a pourable consistency.
- Take 2 to 3 balls out of the fridge at a time, dip each straight down, lift straight up, and avoid stirring.
- Gently tap the wrist of the hand holding the stick to shake off extra coating and rotate while tapping.
- Stand the pop upright in a Styrofoam block to set.
Decorate
- Sprinkle while the coating is still tacky to ensure decorations stick.
- For neat drizzles, let the base coat set and use a spoon or piping bag for contrasting zigzags.
- You can also roll the tops in toasted coconut or sprinkle with edible glitter.
