Mini Puto Cheesecakes – Filipino Dessert Fusion for Busy Sweet Tooths
Mini Puto Cheesecakes came out of one of those nights when I wanted something creamy and nostalgic without a mountain of dishes. I love regular cheesecake, but sometimes it feels too heavy and fussy. Puto is the opposite: light, quick to cook, and cozy. Put them together and you get a bite that is soft, creamy, and gently sweet, with that familiar hint of cheese that makes Filipino desserts so comforting. If you’ve got a steamer or even just a pot with a rack, you’re ready to make these. Let’s get into it without overcomplicating anything. 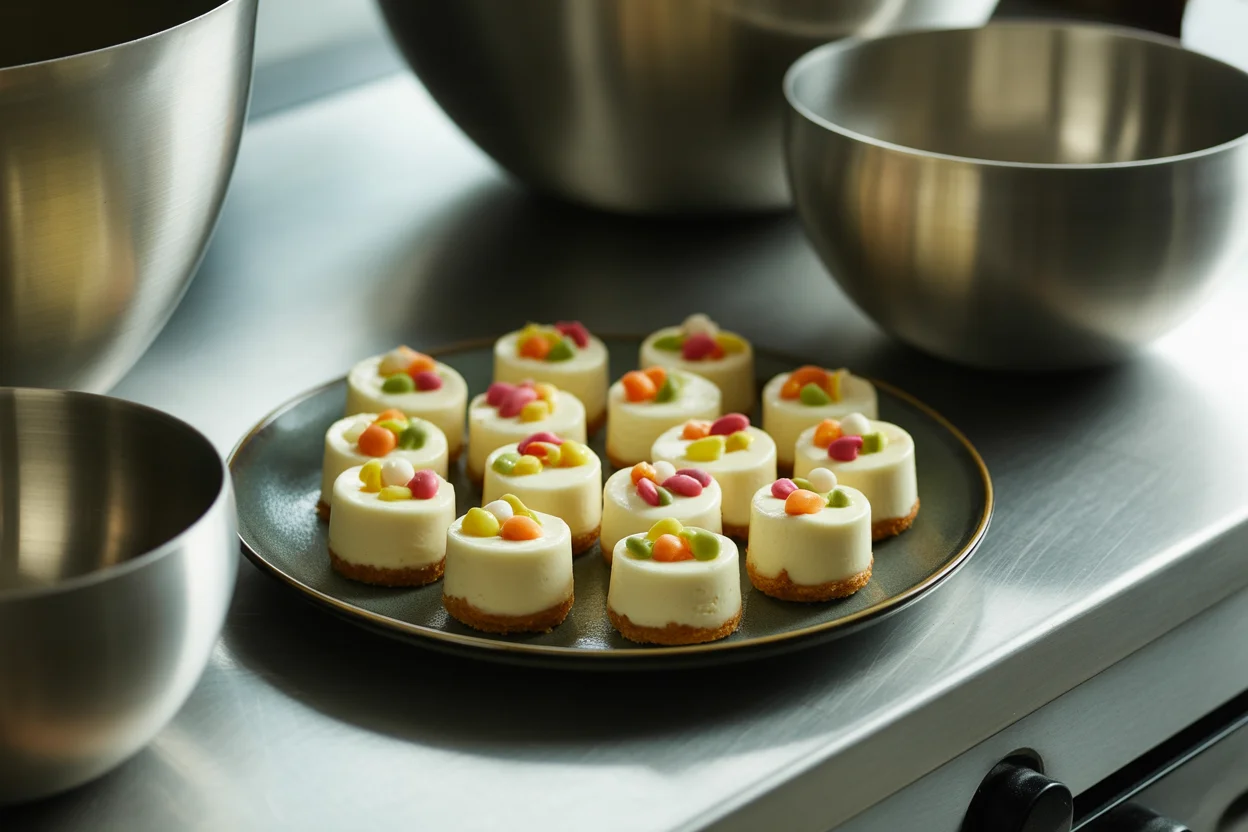
Ingredients
What you’ll need
Here’s the short and sweet shopping list. I keep these in my pantry most days, and I bet you do too. The recipe makes about 12 to 16 minis, depending on your molds or liners.
- Cream cheese, 225 g or 8 oz, at room temperature
- Sugar, 1/3 cup for the cheesecake layer
- Egg, 1 large, at room temperature
- Sour cream or plain yogurt, 1/4 cup
- Vanilla, 1 teaspoon
- Rice flour or all-purpose flour, 2 tablespoons for the cheesecake layer to help it set
- For the puto base: 1/2 cup rice flour, 1/3 cup sugar, 1 teaspoon baking powder, 1/4 cup milk, 1/4 cup water, and a pinch of salt
- Cheese for topping, cut into small cubes or thin slices; cheddar is classic
- Butter or neutral oil to lightly grease molds
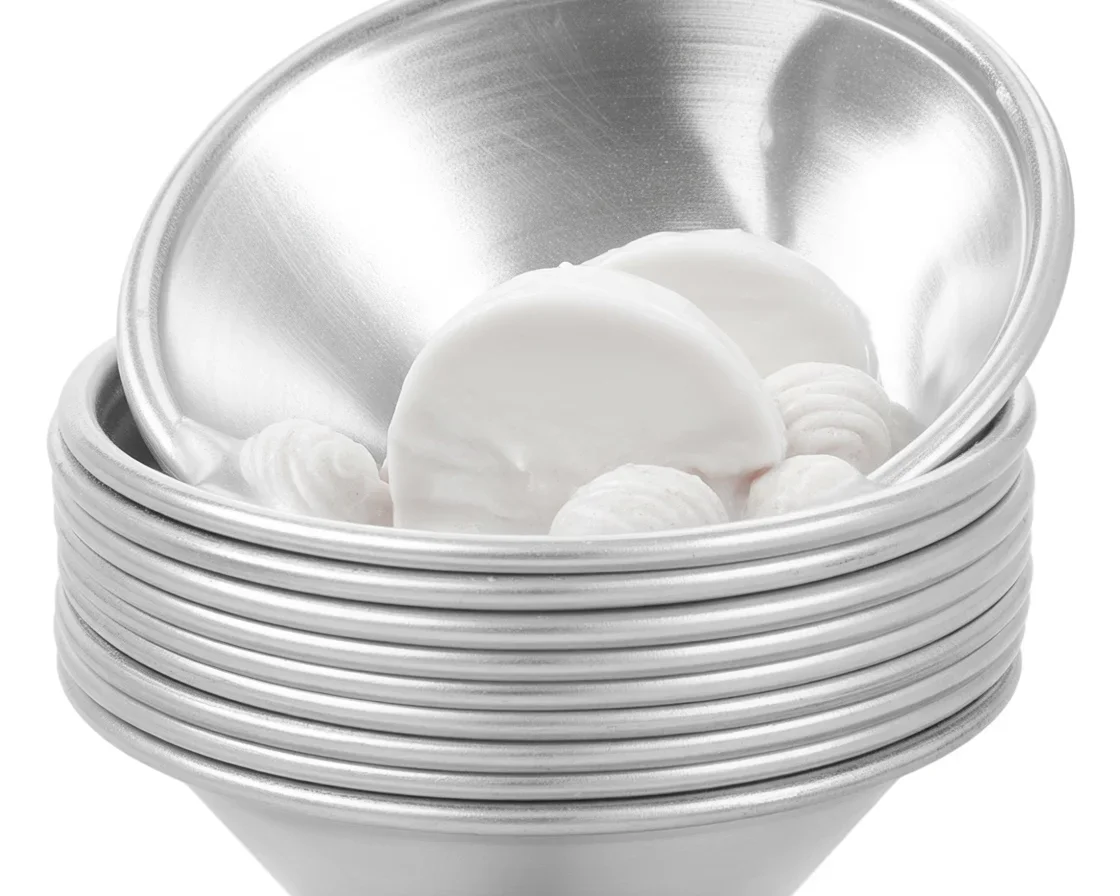
Pro tip: If you’re new to puto molds, I love using aluminum mini tart cups or silicone cupcake liners. They release cleanly and heat evenly.
Curious about how this plays with a classic? This riff is inspired by the flavor and feel of simple cheese puto. If you want the base recipe for that on its own, check out Mini Cheese Puto. It’s a kid favorite at my place.
Make cheesecake batter
Easy, smooth, and not too sweet
Start with softened cream cheese. If it’s still cold, you’ll get lumps and you’ll want to avoid that. I leave mine out for 30 to 45 minutes, or I microwave it for 10 to 15 seconds at a time until it’s pliable but not melted.
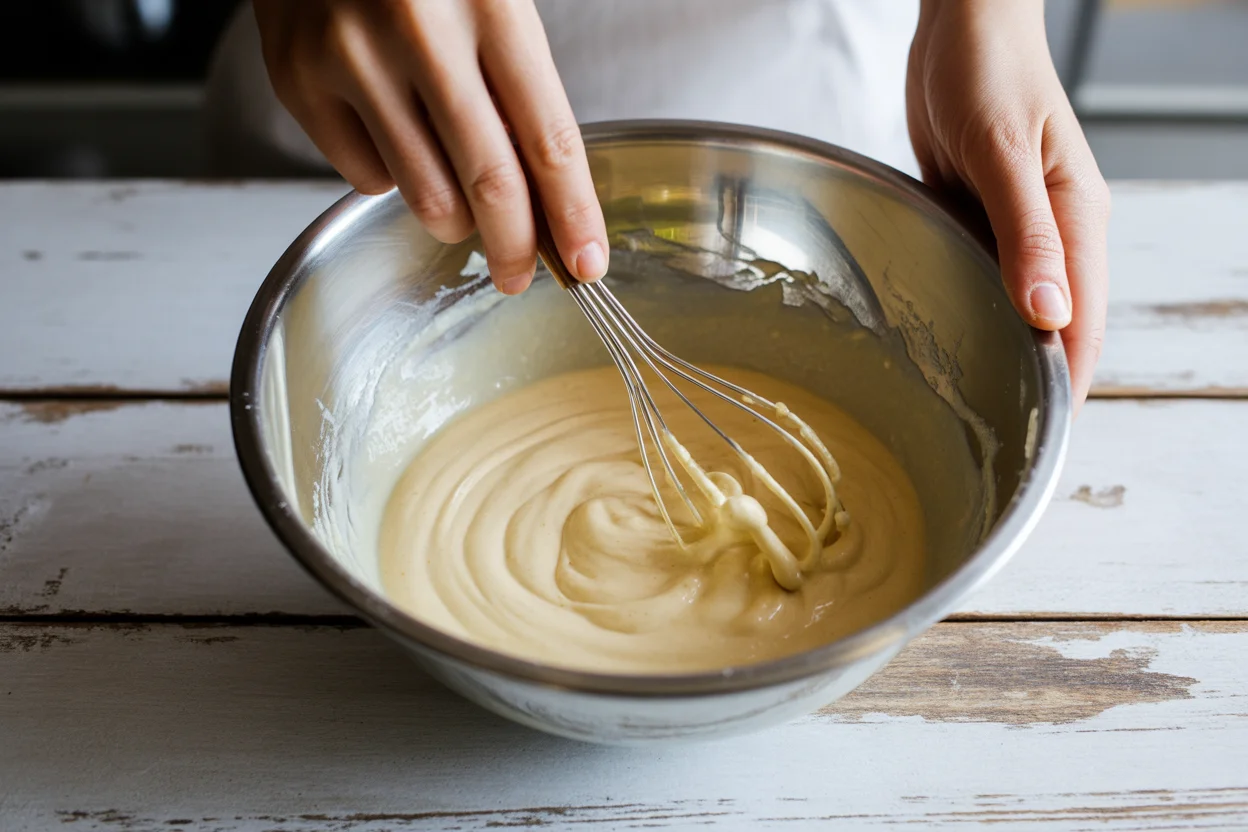
In a bowl, beat cream cheese and sugar until smooth. You can use a hand mixer, but a whisk works if your cream cheese is very soft. Add the egg and mix just until combined. Don’t overmix; air bubbles can make the batter puff too much. Stir in sour cream, vanilla, and the small amount of flour. The batter should be thick but pourable, like heavy pancake batter.
Key tip: Keep everything at room temperature for a silky texture. Cold ingredients make the batter curdle. If you see a few tiny lumps, strain the batter through a fine sieve into a measuring cup. It takes an extra minute and gives you that ultra-smooth finish.
If you like your cheesecake less sweet, cut the sugar to 1/4 cup. The puto base has sugar too, so it balances out. You can also swap sour cream for Greek yogurt if that’s what you’ve got. The texture stays nice and creamy.
Add puto base
Light, fluffy, and ready in minutes
Whisk rice flour, sugar, baking powder, and salt in a bowl. Add milk and water, then mix until no dry pockets remain. The batter should be slightly thinner than regular pancake batter. If it looks too thick, add a splash of water.
Lightly grease your mini molds or line a mini muffin pan with liners. Spoon a thin layer of puto batter into each cup, about 1/3 full. You just want a gentle base to hold the cheesecake layer, not a full puto cake underneath.
Now spoon in the cheesecake batter until you’re just under the rim. Leave a little space for steam expansion. Top each with a tiny cube of cheddar or a thin slice. The salty cheese hits the creamy layer so well.
If you’re feeling playful, you can do a chocolate twist. Swap 1 tablespoon of the rice flour in the puto base for cocoa powder and add a few chocolate chips to the cheesecake layer. For more flavor ideas, peek at Chocolate Puto and imagine that chocolaty base under your cheesecake topping.
Note: If you only have regular all-purpose flour, it works in a pinch for the puto base, though the texture is a tad different. Rice flour gives that classic puto bounce.
Steam or bake
Choose your method
Both methods work, so use what you have and what your kitchen is in the mood for. Steaming is quicker and gives a soft, spongy base with a creamy top. Baking gives a slightly firmer cheesecake layer and a light golden edge.
To steam:
Bring water to a gentle simmer in your steamer or a pot fitted with a rack and lid. Keep the heat at low to medium. You want a steady, mild steam, not a rolling boil. Place the filled molds on the rack. Cover the lid with a clean kitchen towel to catch drips so the tops stay smooth.
Steam minis for 12 to 15 minutes. Check by gently tapping a mold. The cheesecake top should look set and not jiggle in the center. If it still wobbles, give it 2 more minutes. Turn off the heat, crack the lid, and let them sit for 2 minutes before lifting them out.
To bake:
Preheat to 300 F or 150 C. Place the filled cups on a baking sheet. If you want extra insurance against cracks, make a simple water bath by pouring hot water into the baking sheet to come halfway up the molds. Bake for 16 to 20 minutes, until the centers are set. Every oven is different, so start checking at 15 minutes.
How to avoid cracks: low oven heat, don’t overmix, and cool slowly. With the steamer method, keep the boil gentle. Wild steam can make the tops bubble.
“I tried the steam version first because it felt less intimidating than baking. They came out silky, not too sweet, and my kids ate them warm right out of the cups. Total win for a weeknight dessert.”
Once cooked, let them cool in the molds for 10 minutes so they set up before you attempt to unmold.
Chill
This step turns good into wow. Cheesecake needs time to settle and bloom. After cooling on the counter, slide the minis into the fridge for at least 1 to 2 hours. Overnight is even better if you can wait.
Run a thin butter knife around the edge if your molds are not silicone. A gentle twist pops them out. The puto base will be tender and slightly springy, while the cheesecake top will be creamy and smooth. The little cheese cube on top melts into a salty crown.
I like serving them with sliced mango or a spoon of macapuno on the side. If you want more mini Filipino dessert ideas to pair on a snack board, check out Mini Bibingka. It’s a lovely contrast in texture next to these minis.
Make ahead: They keep well in the fridge for up to 4 days. Store in an airtight container so they do not pick up fridge smells. If you like them slightly warm, let them sit at room temp for 10 to 15 minutes before serving.
Common Questions
Quick answers to help you nail it
Can I use all-purpose flour for the puto base?
Yes, but the texture will be a bit less bouncy than rice flour. It still tastes great. If you can get rice flour, that’s ideal for the classic bite.
Do I need a mixer?
No. A whisk works if your cream cheese is soft. Avoid overmixing and you’ll be fine.
How do I know they’re done?
The tops should look set and matte, not shiny or wobbly. If steaming, a toothpick off-center should come out with just a bit of moisture, not wet batter.
Can I freeze them?
Yes. Freeze in a single layer, then transfer to a container. Thaw in the fridge and enjoy cold or let them come to room temp for 15 minutes.
What if I want it sweeter?
Add 1 to 2 extra tablespoons of sugar to the cheesecake batter or drizzle with condensed milk before serving. A little goes a long way.
Ready to make a batch for merienda?
I love how Mini Puto Cheesecakes deliver the creamy joy of cheesecake with the speed and warmth of puto. They’re friendly for weeknights, easy for beginners, and special enough for a party tray. Once you get the flow down, you can mix up flavors, from plain cheddar to cocoa or even ube. For more ideas to serve alongside, you might like playful mini sweets like Turon Bites too.
If you need molds that release cleanly and work for both steaming and baking, the Mini Tart Mold Puto Molder Cheesecake Aluminum Alloy Egg Cup set is a handy, budget-friendly pick. It helps you keep sizes consistent and the edges neat so every little bite looks bakery-level.
However you choose to cook them, keep the heat gentle, give them time to chill, and trust the process. With a few simple steps, your kitchen will smell sweet and cozy, and you’ll have a plate of Mini Puto Cheesecakes that disappear fast. Tag me if you try this, and enjoy every creamy, bouncy bite. 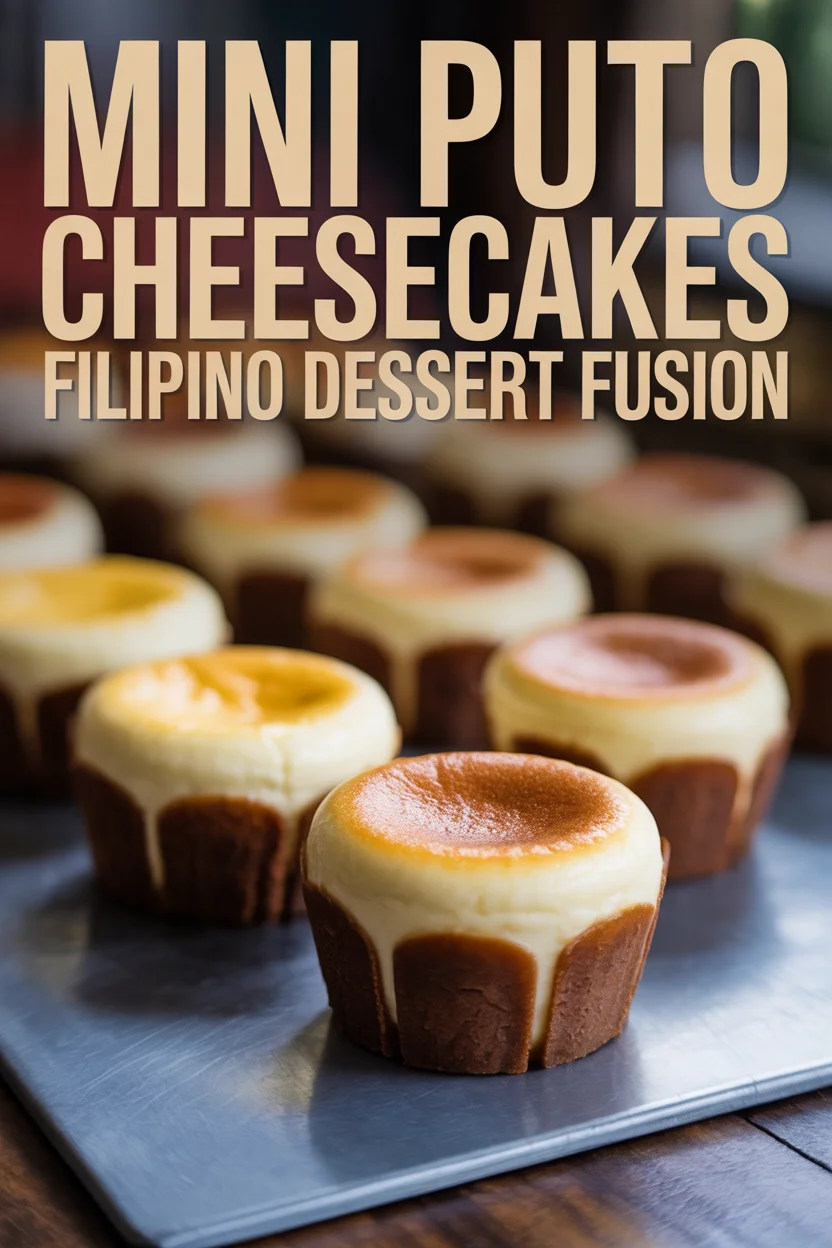
Mini Puto Cheesecakes
Ingredients
Cheesecake Layer
- 225 g cream cheese, at room temperature Soften cream cheese before use.
- 1/3 cup sugar Can reduce to 1/4 cup for less sweetness.
- 1 large egg, at room temperature Ensure egg is room temperature.
- 1/4 cup sour cream or plain yogurt Can swap for Greek yogurt.
- 1 teaspoon vanilla extract
- 2 tablespoons rice flour or all-purpose flour Helps cheesecake layer set.
Puto Base
- 1/2 cup rice flour Classic choice for puto.
- 1/3 cup sugar
- 1 teaspoon baking powder
- 1/4 cup milk
- 1/4 cup water
- a pinch salt
Topping
- cheese for topping, cut into small cubes or thin slices (cheddar is classic)
- Butter or neutral oil to lightly grease molds Ensure molds are well-greased.
Instructions
Make Cheesecake Batter
- Start with softened cream cheese, let it sit for 30-45 minutes. Beat cream cheese and sugar until smooth. Add egg, stir until combined. Mix in sour cream, vanilla, and flour.
- If the batter has lumps, strain it through a fine sieve for an ultra-smooth finish.
Add Puto Base
- In a bowl, whisk rice flour, sugar, baking powder, and salt. Add milk and water, then mix until combined.
- Lightly grease mini molds. Spoon puto batter to fill 1/3 of the way, add cheesecake batter just under the rim. Top with cheese.
Steam or Bake
- For steaming, bring water to a gentle simmer, placing molds on a rack. Steam for 12-15 minutes until set.
- For baking, preheat to 300F, place molds on a baking sheet, and bake for 16-20 minutes until set.
Chill
- Let cool in molds for 10 minutes, then refrigerate for at least 1-2 hours to set before serving.
