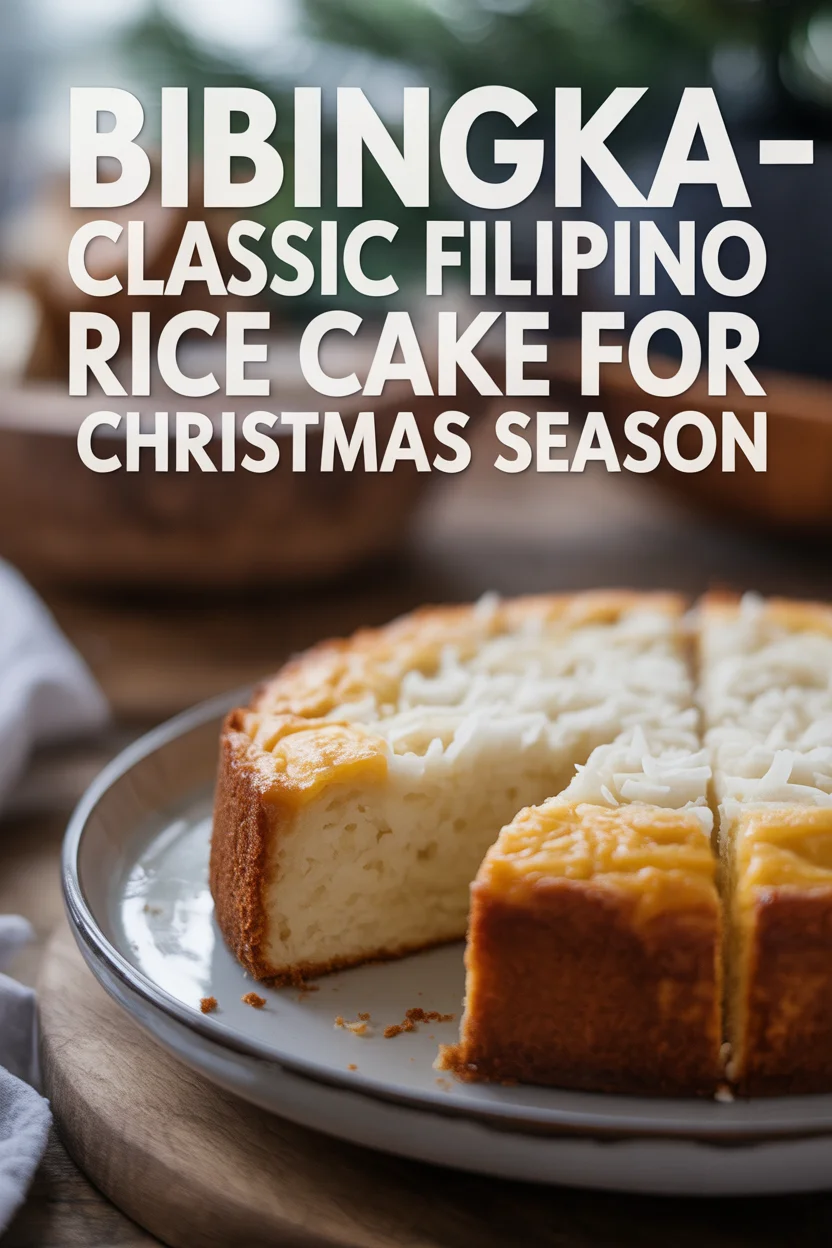
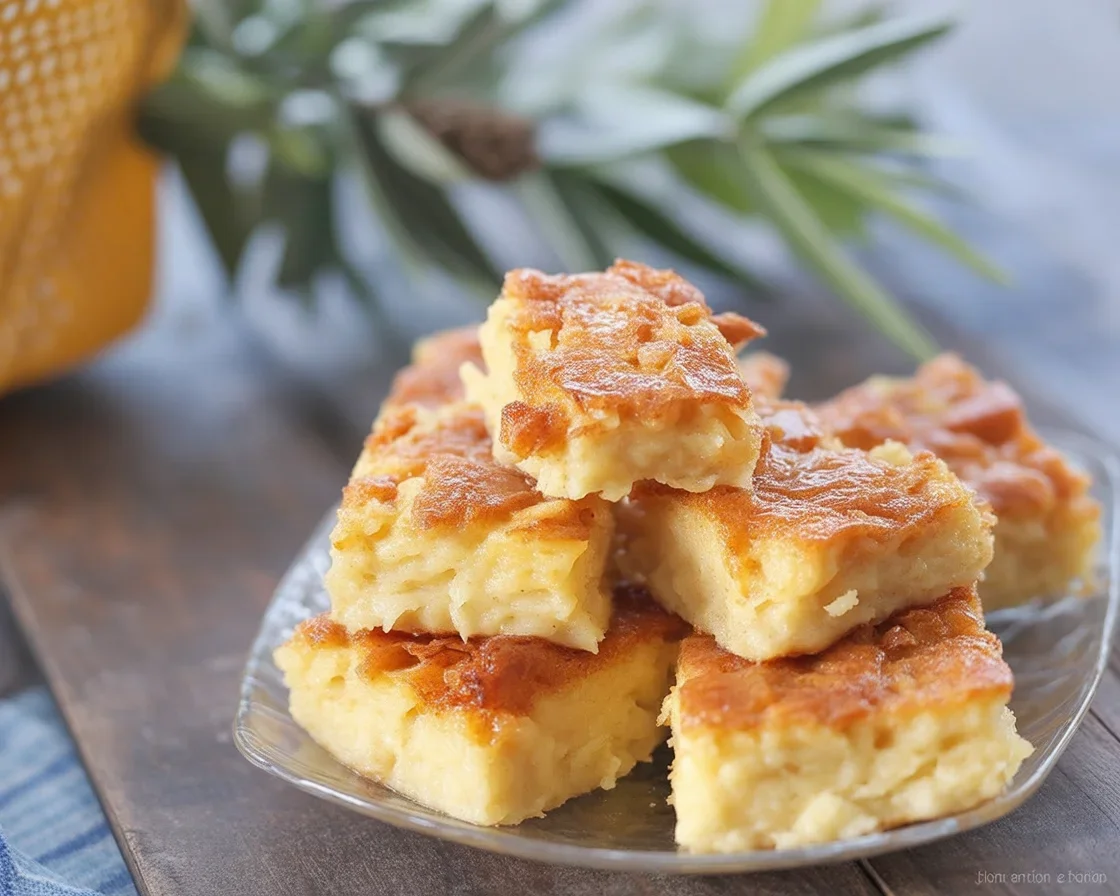
Bibingka is practically the sound of Christmas for Pinoys. Ever had that late-night craving, dreaming about the smell of freshly baked, slightly toasty rice cake wafting from a makeshift stall near your local church? Yeah, me too. Figuring out how to make bibingka at home—not as easy as it sounds, right? It seems tricky at first, especially if you want it soft but not gummy, with all those yummy toppings. Oh, and don’t even get me started on how every tita swears their recipe is the “real” deal. If you’re thinking about finally giving in and making bibingka, I pulled together everything you really need (plus, check this spot for a traditional Filipino bibingka recipe that’s heavy on flavor). And hey, if you need a backup plan, peek at this step-by-step guide right here.
Bibingka Recipe Overview
Okay, let’s break it down. Bibingka is a classic Filipino rice cake that calls out “Ber months” like nothing else (except maybe lechon or puto bumbong, I guess). It’s super simple, but getting the soft, almost spongy texture right reminds me of balancing a broomstick on your palm — like, it’s doable but unexpectedly tricky the first go.
Not gonna lie, my first bibingka attempt was a disaster. My toppings were sliding everywhere, and don’t ask about the burnt coconut. You basically whip together a batter with rice flour, coconut milk, sugar, eggs—none of that fancy dough rising here. Pour it over banana leaves, bake, then the fun part comes: salted eggs, cheese, and all the trimmings. Easy Sunday, right? Well… kind of, but I promise the process is straightforward once you see how it all fits.
The key thing: bibingka isn’t supposed to be fussy. No fancy pans required. Nothing you have to borrow from your lola’s kitchen. Just basic stuff, some patience, and maybe a family member or two yelling that you’re using too much cheese.
“I made bibingka from scratch last Christmas for the first time. Didn’t expect my picky cousins to ask for seconds… or third slices. It’s now my party trick. Wouldn’t trade the smell of coconut and cheese for any other holiday dessert!”
Exploring the Ingredients for Bibingka
Look, if you peek inside a Filipino kitchen, you’ll probably already find most of what you need: rice flour (the actual hero of this party), coconut milk (full-fat, please, for the love of flavor), sugar, eggs, baking powder, and some butter. Nothing wild. But okay, let’s get real—banana leaves can be a quest and a half if you don’t have a Filipino market nearby. Trust me, I’ve tried using parchment paper once… it’s not the same.
The magic twist comes with the toppings: salted duck eggs (a love-it-or-loathe-it flavor), grated cheese (Eden or cheddar, not the fancy stuff) and thick coconut flakes if you want extra oomph. Oh, and sometimes folks throw on a fistful of sugar and butter right as it comes out. Total comfort food.
I’m gonna caution: don’t skimp on coconut milk. The coconut flavor is, well, the backbone of any good bibingka. Go all-in with the toppings; it’s how you show the cake some kapamilya love.
Tips for Perfecting Your Bibingka
Let’s just get this out there: bibingka is totally forgiving, but the more you make it, the more you’ll pick up on what not to do (like, preheating matters, people—no one likes underbaked centers).
- Line your pan with banana leaves if you can find them; it’s how you get that iconic aroma and stop sticking. Totally transforms it.
- Don’t overmix your batter. It seems basic, but if you treat it like pancake mix—gentle and just until combined—you’ll get that light, tender crumb.
- Pre-bake those toppings (especially salted egg) for a few minutes with the batter. You’ll get golden melty cheese and no raw bites.
- Watch the oven—the last few minutes can turn your golden cake into a smoky disaster fast.
Quick story: Once, I skipped the banana leaf, thinking it “wouldn’t matter” and, friend, my bibingka stuck to the pan like an ex who won’t move on. Learn from me!
Common Variations of Bibingka
Seasoned bibingka fans know there isn’t just one way to do it. At family parties, you’ll see the classic version, but sometimes, relatives swap in purple yam (ube) for color and a new flavor kick. There’s butter bibingka with a thicker, almost fudge-like base. Some go wild and add macapuno or even mini slices of ham on top—don’t knock it till you try.
Street vendors sometimes cook it over charcoal for a hint of smoke. People even experiment with different cheeses (processed cheese reigns supreme for me, no apologies). Basically, bibingka is a playground. As long as you keep the spirit and core ingredients, you’re golden.
The main thing is to experiment, especially around the holidays when every neighbor wants to share their “secret.” You never know what combo you’ll end up falling for.
Storage and Serving Suggestions
Bibingka tastes best fresh—soft, warm, almost giggly inside when you poke it. But hey, life gets busy (relatable, right?), so here’s some no-nonsense advice:
- Reheat slices in the microwave for 10-20 seconds to bring back moisture.
- Wrap leftovers tightly in foil if keeping in the fridge for a couple days.
- Freeze portions for quick bibingka fixes; just defrost and zap to warm up.
- Serve with grated coconut and a cup of hot tsokolate for max Pinoy Christmas vibes.
Nothing fancy required. Bring it to your next potluck and watch it vanish—promise.
Common Questions
How do you know bibingka is cooked through?
You can use a toothpick—poke it in the center. If it comes out (mostly) clean with just a few crumbs, you’re ready.
Can I skip banana leaves?
You can, but heads up, you’ll lose that authentic scent and taste. If you must, grease the pan really well.
What if I don’t have salted egg?
Totally fine. You can top your bibingka with just cheese or even try sweet toppings like coconut jam.
Is there a quick way to make bibingka?
Mix together rice flour, coconut milk, eggs, sugar, baking powder, pour into a lined pan, and bake. No need for fancy steps.
What type of cheese is best?
Go for cheddar or that classic Filipino processed cheese. Stay away from sharp cheeses; you want mellow and melty.

If you’re ready to take the bibingka leap, just go for it—honestly, it’s easier than it looks. Whether you use a classic Filipino rice cake recipe or experiment with toppings, it’s one of the friendliest and most satisfying things you’ll pull out of the oven. For more inspiration and an expert-tested version, this Bibingka (Filipino Rice Cake) Recipe is a good read too. However you do it, just don’t forget to serve it warm and with a smile—because honestly, bibingka is meant to be shared.
Bibingka
Ingredients
Main Ingredients
- 2 cups rice flour This is the main ingredient.
- 1 cup coconut milk Full-fat for better flavor.
- 3/4 cup sugar Adjust based on desired sweetness.
- 3 large eggs Large eggs are preferred.
- 1 tbsp baking powder For leavening the cake.
- 1/4 cup butter Melted, for added richness.
- 4-5 pieces banana leaves For lining the pan, if available.
Toppings
- 2 pieces salted duck eggs Sliced for topping.
- 1 cup grated cheese Eden or cheddar cheese, not too fancy.
- 1/2 cup thick coconut flakes Optional for added texture.
- 1 tbsp butter For additional topping after baking.
- 1-2 tbsp sugar Optional for sweetness on top.
Instructions
Preparation
- Preheat the oven to 375°F (190°C).
- Line a baking pan with banana leaves or parchment paper.
- In a bowl, mix together rice flour, coconut milk, sugar, eggs, baking powder, and melted butter until just combined.
Baking
- Pour the batter into the prepared pan.
- Add the toppings: arrange sliced salted eggs and grated cheese on top.
- Bake for about 30 minutes, or until a toothpick inserted in the center comes out clean.
- Once baked, spread melted butter on top and sprinkle with sugar if desired.

